12V LED Puck Lights for a DIY Camper Van or Box Truck
- The Desert Cruisers
- Mar 23, 2024
- 3 min read
Updated: Mar 31, 2024

Having lights in your tiny home on wheels is one of the coolest parts of a DIY build! 😎 At least it was for us! We knew nothing about wiring before we started our first build in our Sprinter Van, and we learned so much from so many resources online! As soon as we turned on our electrical system for the first time in our Sprinter, we were so excited to turn the lights on and same with our box truck build! 💡
Now it’s time to return the favor! We are going to get detailed on how we wired our 12V lights on a dual zone dimmer in our box truck!
Figuring Out Your Layout
Knowing where you want your lights and dimmer will be one of the first steps in your install. We knew we wanted the dimmer by our bed so that it would be easy to reach, but also is by the front door so that we can turn the lights on walking in! It also felt like a good balance to have it there. We also evened out the 8 puck lights in our build.

Our 12V Light Layout
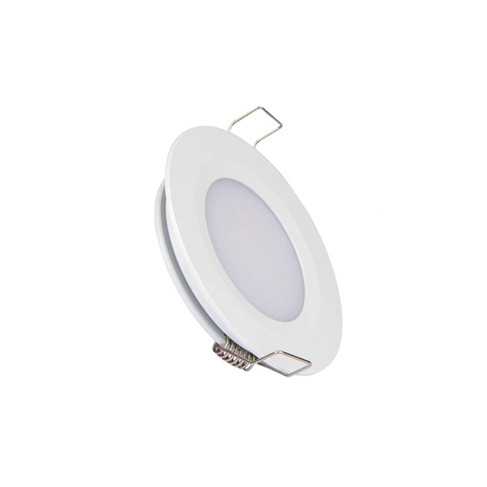
We have 8 lights in total, 4 on one side of the dimmer and 4 on the other side of the dimmer. We wanted to have the same set up as our Sprinter Van where there were 4 lights near the bed and then 4 lights near the living space which was nice to have if someone is sleeping or to balance the light in your space. With this set up, we have a two zone 12v light dimmer. When you slide them all the way down, they snap into place and that turns them off very easily. For the lights, we went with Acegoo LED Panel Lights.
Wiring Kit For The LED Lights
When we were learning how to wire lights in our Sprinter van, Cody found out about Explorist.life. They provide all sorts of resources ranging from wiring diagrams, build videos, wiring kits and more! They have everything you need to help you with your DIY build. So we went with a 12V puck light branch circuit kit from Explorist.
You can literally go to their website and buy the length that you need and they also have wiring diagrams that can help with all your installs.

What's In The Kit?
Getting everything in this kit, saves you time vs. getting all the parts separately!
16 AWG Red Wire | 50ft |
16AWG Black Wire | 50ft |
3-Conductor Wago Lever Nut | 19 |
2-Conductor Wago Lever Nut | 13 |
16AWG Spade Connector | 2 |
10A Eaton Bussman ATC Blade Fuse | 1 |
Parts And Tools Needed

12V Led Puck Lights
Installing Your LED Lights
To start, you will want to roughly run wire from where your dimmers or switches will be to the side of your ceiling so you can cut your first length of wire. Once we got a rough estimate, we ran our wires along the steel studs and used zip ties to help it stay up.

Now that you have your wire ran, grab the negative wire and use your small gauge wire stripper to remove the wire insulation, and hook it up to your first 3 way lever nut. Which slot you use on the Wago does not matter so much, but be sure that all positive sticks to positive and all negative sticks to the negative. Then snap it close. Do the same for the red wire on a separate wago lever nut.

To reiterate, a wire (including positive and negative) from one side of dimmer location runs up the wall to our first set of 3 way lever nuts. We are using a 3 way lever nut for the incoming positive wire from the dimmer (that takes up the first slot), a power supply wire that goes to our first row of lights (that takes up the second slot), and the last power supply wire that goes to our second row of lights (takes up the third slot). Now remember to do that with your negative wire, since there are positive and negative wires coming from the dimmer!
Now that the first 4 lights are all tied together, they are set up for the left side of the dimmer. You'll do the same for the right side and run another separate wire coming from the second slide of the dimmer.

For now, we let them hang on our steel studs with a zip tie until it's time for our ceiling boards install!
Let us know in the comments below if this diagram was helpful! Just follow the diagram and after a few more times it will make sense! Even to this day, we have to refer back to the diagram to truly remember how to set it up which is totally normal!


